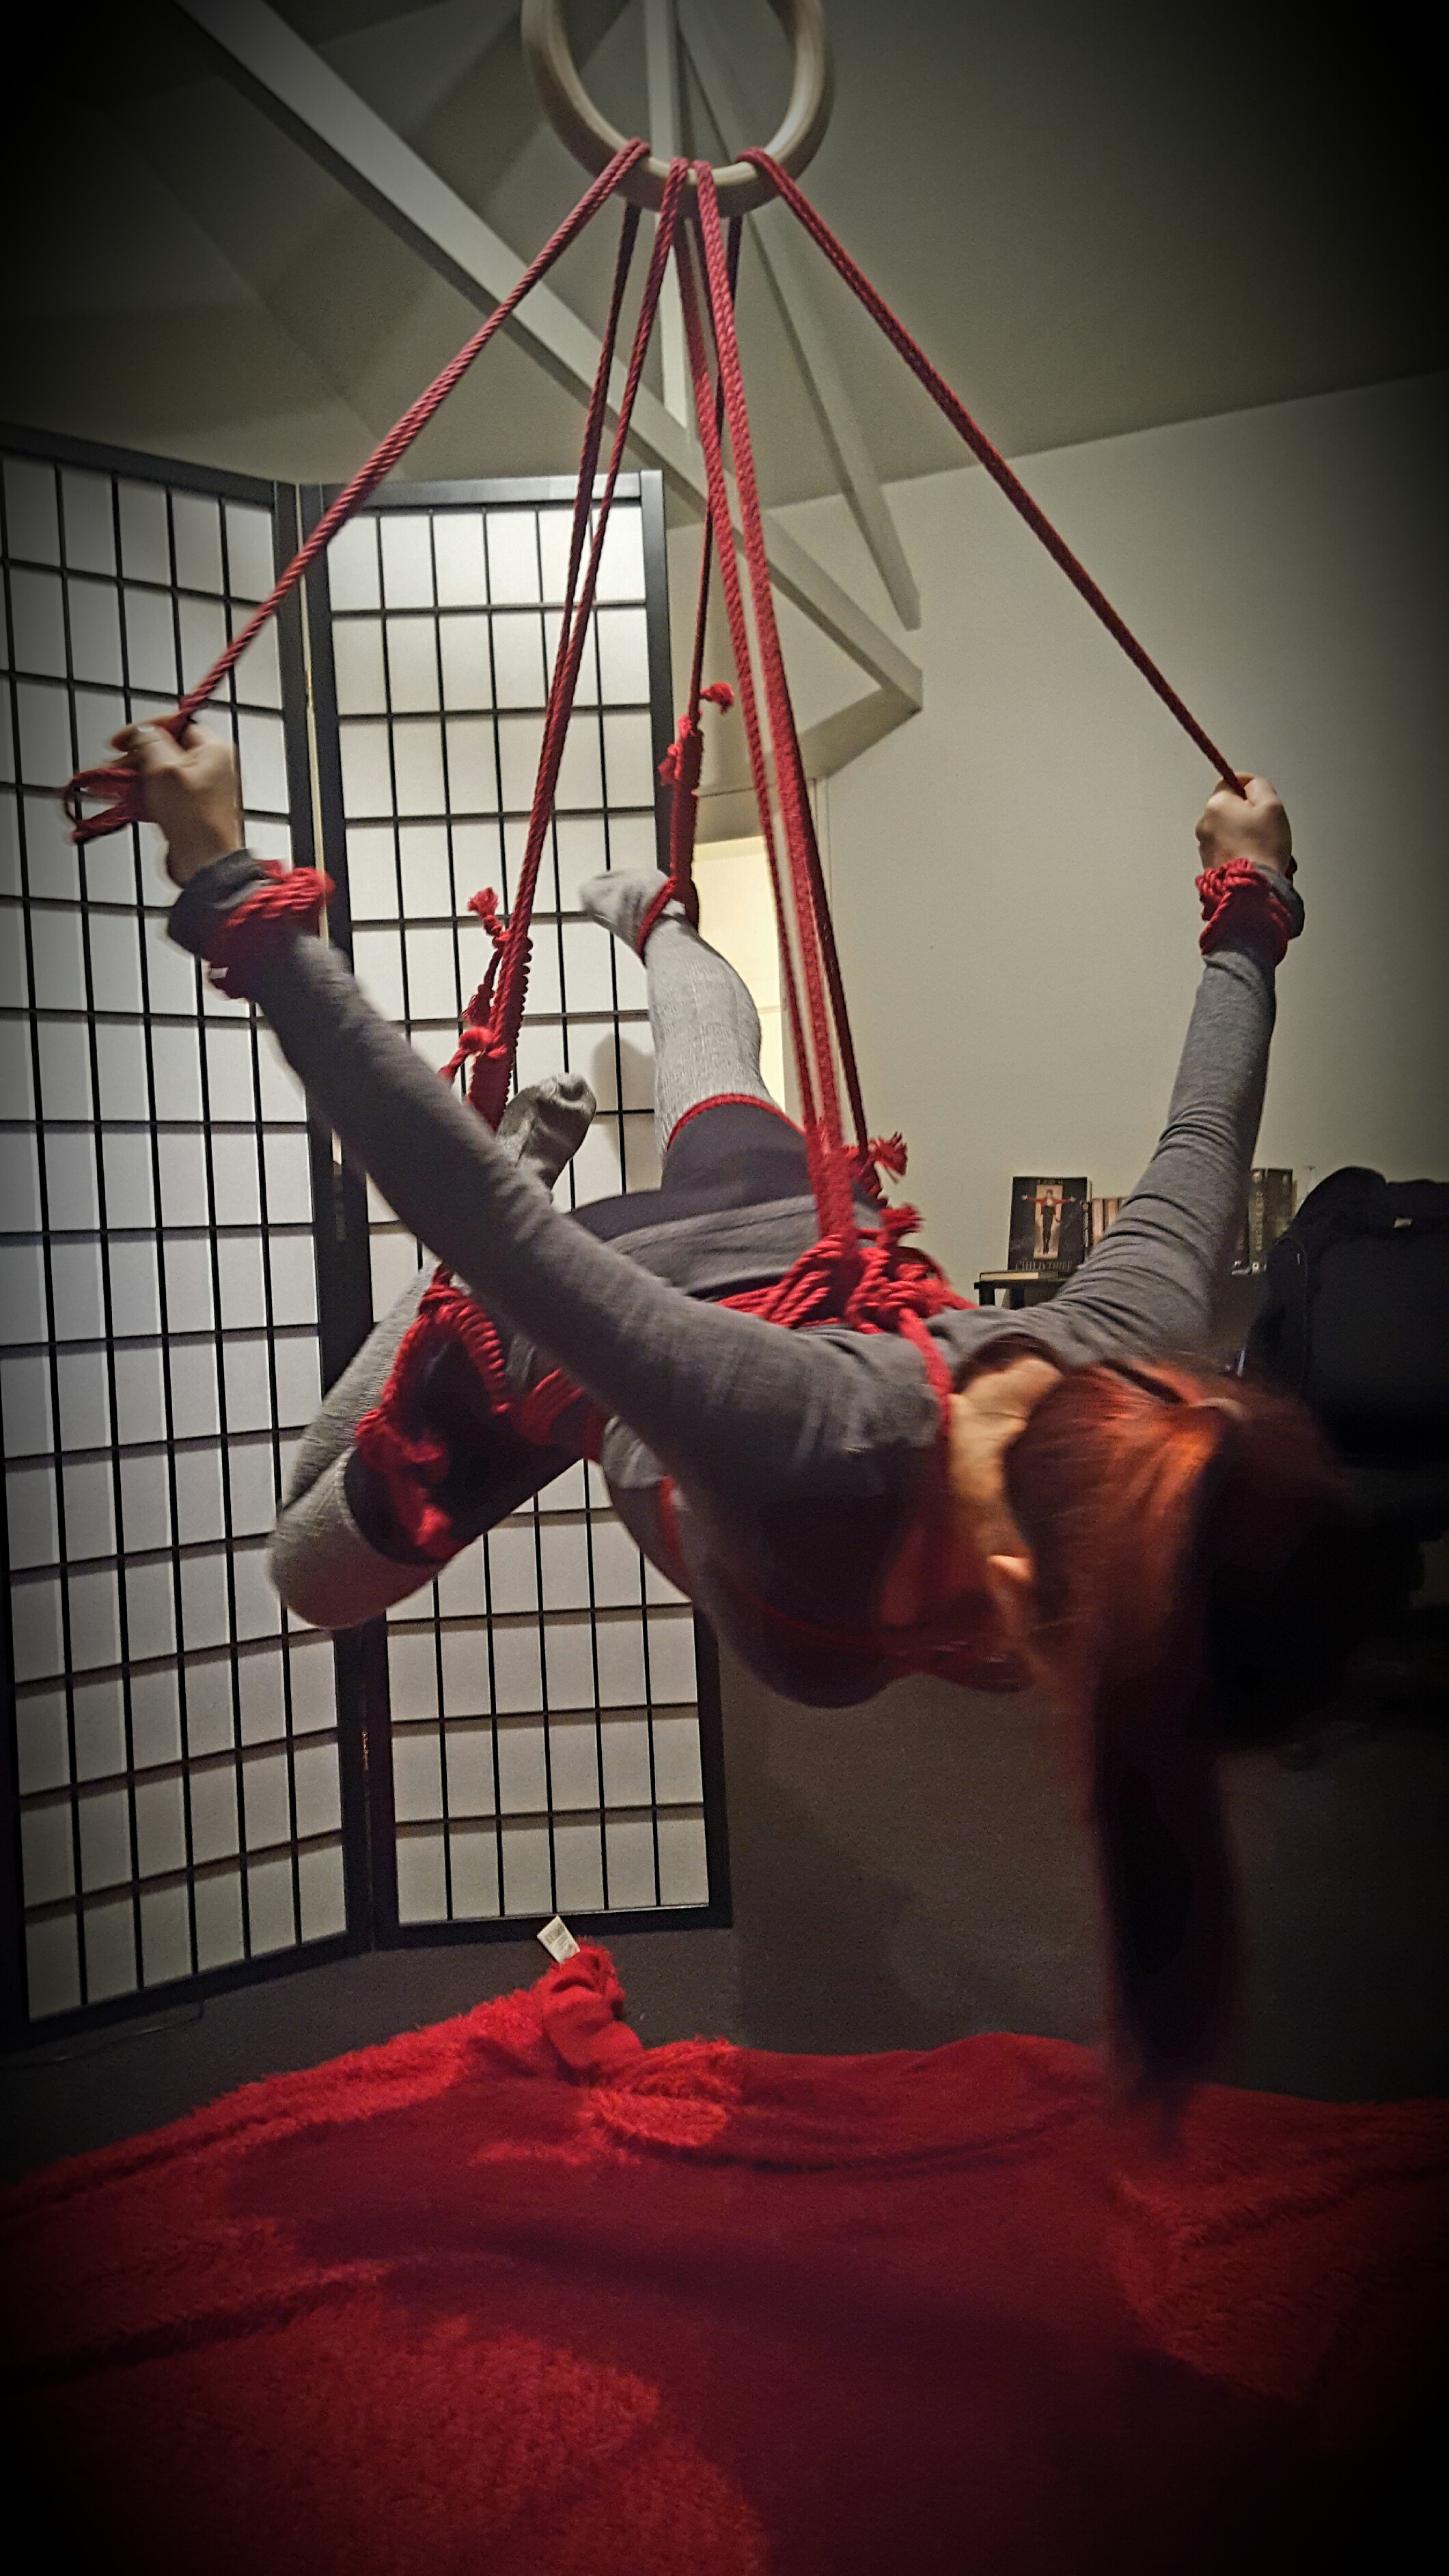
 This post discusses a fun little suspension that I learned from Mishibari on Youtube; when and how I’d use it, and how freaking fun it is.
So there is a great little series on Youtube called Mishibari; it’s mostly in German, but if you’ve been doing rope for awhile, you tend to be able to follow along on most of the techniques.
Mishibari has put together a great little lesson plan, showing you how to do various ties and components which, when put together, allow you to have a lot of fun. The ties shown seem to be the kind that are built for doing suspensions, and the style of the ties tends to make them appear fairly comfortable; the harnesses etc are woven together in a fairly “flat” fashion which to me looks as if they distribute pressure nicely. He also shows a lot of detail in how he builds each component, which is great.
I rather like that; comfortable ties keep people coming back for more fun.
So a few months back I did some experimenting with the Marionnette; it’s a suspension which allows for a lot more movement and control than most suspensions do. I’m going to embed the video for that below.
Discussion
So as with many suspensions, this one uses component parts; here we have the gunslinger harness, and a neat chest harness which removes a lot of risk, because the arms are free. It’s not always as comfortable doing it that way, due to pressure on the ribcage, but because the weight is distributed neatly between the gunslingers and the harness, as well as a little bit on the wrist to ankle ropes, it’s not bad. All three components together make for a really comfortable time.
The only thing I would really do differently with this, is to use a Secondary Column Tie on the ankle part instead of what Mishibari has used. And that’s not so much a criticism of his tie, as it is a personal preference. I’ve tested the Secondary Column Tie to death; I know that it’s solid, and it does what I want it to do. I haven’t tested his one, so I’m not as confident about it, and the Secondary Column Tie performs the same function. I like feeling confident in my rope.
Pro-Tip:
Getting the tensions relatively even on both wrist to ankle ties can be a bit finicky. I recommend starting with the hands up against the ring, and get feedback from the person you’re suspending about whether they’re even. Trust me, they’ll notice.
What I really like about this suspension is that it’s absolutely ideal as an introduction to suspension; I’d use it for that, and to just have a comfortable, relaxed, less intense suspension time with someone.
Based on the feedback from the three different people I tried it with:
- it’s comfortable as hell
- There’s a lot of perceived control; with those wrist to ankle ropes, there is a lot of potential for people to adjust their own positions, and that can be quite a comfortable thing for many, helping them adjust to the concept of being up in the air with limited control, but not necessarily none. It’s a graduated thing, useful for the more anxious.
- There’s still the fun of the rigger being able to adjust the person’s position and make things difficult for the rope bottom if they want to; and it’s really easy and quite amusing to do!
It’s just a really, really FUN suspension. It also feels really safe, and you don’t need to have a lot of technical knowledge around uplines to make it work.
Fun Time Pictures:
Below are some of the fun positions and interesting variants that you can do with it.
So yes, this is a hell of a lot of fun. I highly recommend checking out the rest of Mishibari’s videos; he and his model have done a great job putting together an instructional series, and they look like they have a great time doing it.


This is gorgeous, Peter. Thank you for posting the video and your experience. You got some fantastic shots, too.
Thanks a lot Rosie! I appreciate the feedback. The photos for this one were a lot of fun to take! Especially seeing what new position the model was going to get herself into next haha